Yesterday I had a fun time converting a PowerShell script that used the set-unifiedgroup powershell command that was originally running with basic authentication, to a script that would run using certificate based authentication so it can run against a tenant that uses Modern Authentication for office365.
There were quite a few hurdles to overcome so hopefully this helps other people.
Step 1 – Fix Office365 logins
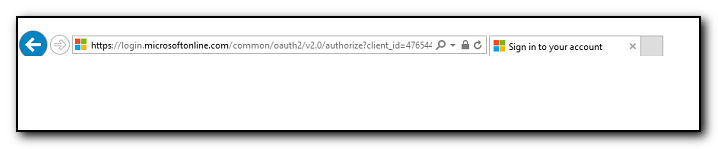
The computer was initially generating a blank white page on the screen when attempting to log into the Office365 or Azure portal. This was resolved by resetting the browser settings in Control Panel / Internet Options. Clearing cookies and temporary internet files did not help for this step.
Step2 – Connect to Office365.
The ExchangeOnline module was already installed on the computer, but needed to be updated with
update-Module -Name ExchangeOnlineManagementThe rest of this phase reduced the previous 5+ lines of code to log into Office365 to a one liner. There are quite a few steps involved in this, but App-only authentication in Exchange Online PowerShell and Security & Compliance PowerShell | Microsoft Learn is a good document to follow. Make sure that the SSL certificate is documented somewhere so that you get a reminder *before* the certificate expires. Once the certificate is uploaded to Azure and permissions are set it is possible to connect with
connect-exchangeonline -CertificateThumbprint "1a2b3c4d5e6f....." -appid "123abc-456def...." -organization "companyname.onmicrosoft.com"Initially I thought that would be it, but after running the script I discovered the next big snag –
Step3 – Converting set-unifiedgroup to MS Graph module equivalent
The script gathered a list of Microsoft 365 distribution groups (or UnifiedGroups) in Office365 that had their access level not set to private and changed them to be private. The previous code was this
Get-UnifiedGroup -ResultSize Unlimited | Where-Object { $_.primarySmtpAddress -match 'companyname.onmicrosoft.com' -and $_.accesstype -ne 'Private' -and $_.HiddenFromAddressListsEnabled -ne 'true' } | Set-UnifiedGroup -AccessType Private -HiddenFromAddressListsEnabled $true -verboseHowever, set-unifiedgroup is one of a few commands that cannot be used with Certificate Based Authentication and the msgraph module has to be used instead. The Microsoft documentation points this out but does not provide helpful information on how to actually get this accomplished. The linked information refers to api calls rather than using actual Microsoft Graph PowerShell commands and there were several gotchas in this process (hence this blog post).
First the Microsoft graph module needs to be installed on the computer with
Install-Module Microsoft.GraphStep3a – Importing Microsoft.Graph.Groups
When importing the Microsoft.Graph module on the machine into PowerShell , not only did it take over 10 minutes to import, an error message is generated stating
Import-Module : Function Get-MgUserContactFolderChildFolderContactMultiValueExtendedProperty cannot be created because<br>function capacity 4096 has been exceeded for this scope.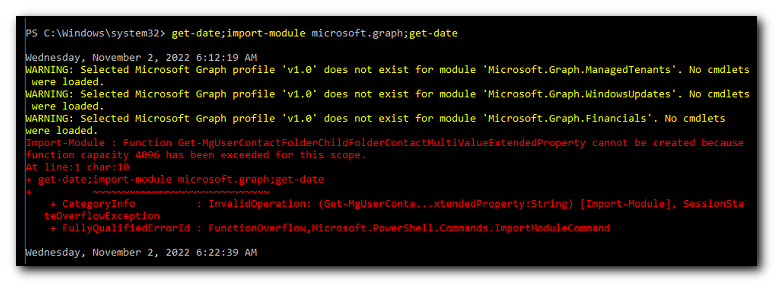
This is due to the sheer number of commands available in the module and PowerShell 5.1 has a limit to the number of commands that can be used. Using PowerShell 7 is one way of fixing that issue but I was trying to reduce the amount of changes being made to this pc. By importing a subsection of the module with import-module microsoft.graph.groups the number of commands that are available is greatly reduced and the import is also a lot quicker. 10 seconds to run instead of over 10 minutes from above.
Step3b – Filter left
The original search returned all groups in Office365 and then filtered them locally. In this large organization, there are a significant number of groups returned and the lookup took several minutes to run. By passing a filter parameter I was able to reduce the number of groups significantly.
Unfortunately the filter parameter does not support accesstype or the primarysmtpaddress so these have to be filtered out by piping the groups to a select-object statement.
Get-UnifiedGroup -ResultSize Unlimited | Where-Object { $_.primarySmtpAddress -match 'companyname.onmicrosoft.com' -and $_.accesstype -ne 'Private' -and $_.HiddenFromAddressListsEnabled -ne 'true' }

becomes

$groups=get-unifiedgroup -filter {(hiddenfromaddresslistsenabled -ne $true)} | where-object {$_.primarysmtpaddress -match 'companyname.onmicrosoft.com' -and $_.accesstype -ne 'Private'}
After making this change, the groups were returned in less than a minute.
Step3c – Changing from set-unifiedgroup to Update-MgGroup
The new command to modify the group is update-mggroup but the standard command does not have the ability to change the access type as per the documentation at Update-MgGroup (Microsoft.Graph.Groups) | Microsoft Learn
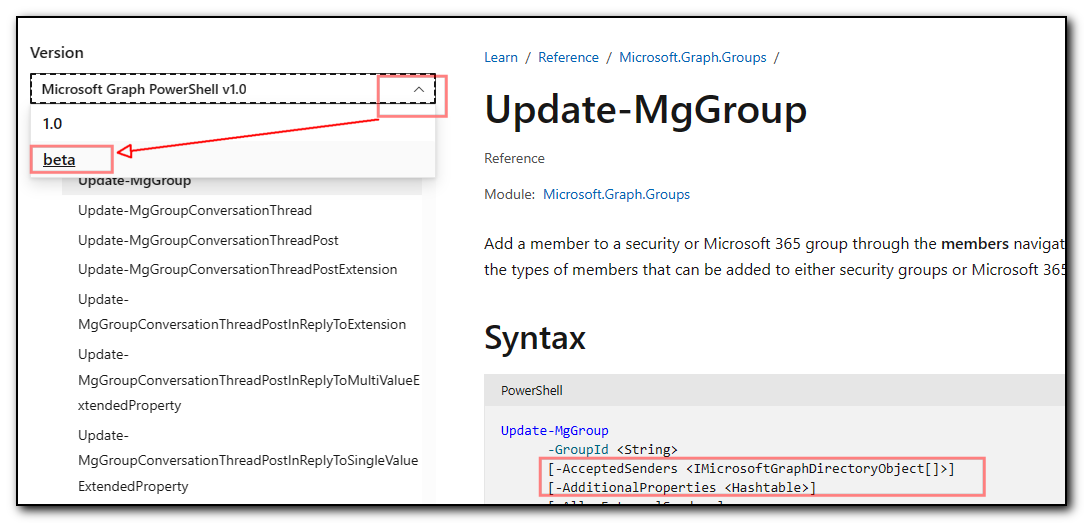
However, after switching the document to the Beta version of the api in the dropdown menu on the left, the accesstype parameter becomes available. The above screenshot shows AccessType is missing vs the screenshot below that includes this option.

We therefore end up with the following commands to set the profile to Beta, load the Microsft.Graph.Groups subset of the module and then connect to Microsoft. Graph
Select-MgProfile -Name "beta"
import-module microsoft.graph.groups
connect-mggraph -clientid "1a2b3c4d5e-1234-1a2c3-a1aa-aa12b3456c7d" -tenantid companyname.onmicrosoft.com -certificatethumbprint "0a4f....fe"
I had issues with the next bit of code and ended up using my Exchange online connections to retrieve the groups that matched the criteria of not being hidden from the address list and where the access type was not private, and then using the ExternalDirectoryObjectID from those groups in the update-mggroup command from the graph module.
In theory I should have been able to search using the get-mggroup command but I was having issues getting the filters and search to work correctly. I could not get any results to come back for searches that included the companyname.onmicrosoft.com email address. As soon as I added that to the criteria the results came back empty. Due to time constraints I used the (admittedly) messy option of using Exchange to grab the groups and graph to update them.
$groups=get-unifiedgroup -filter {(hiddenfromaddresslistsenabled -ne $true)} | where-object {$_.primarysmtpaddress -match ‘companyname.onmicrosoft.com’ -and $_.accesstype -ne ‘Private’}
foreach ($group in $groups) {
update-mggroup -groupid $group.ExternalDirectoryObjectId -accesstype "Private" -HideFromAddressLists
}
Finally, the script was completed by disconnecting the Graph and the Exchange connections
get-pssession | Remove-PSSession
Disconnect-MgGraph
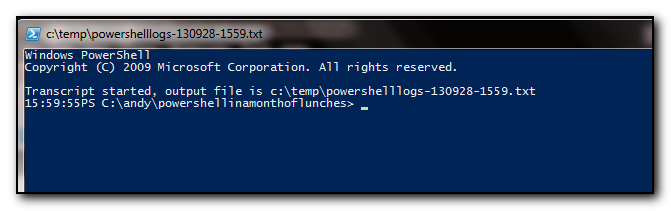
Stop-TranscriptUsing the transcript option at the beginning of the script really helped in debugging this code as it’s meant to run from a scheduled task and viewing the transcript enabled me to see what the issue was and then decide to test further in an interactive session.
 One of my annoyances with Office365 administration tasks was that I could make changes to the interface but had no idea what commands were being run behind the scenes. This made creating scripts a frustrating trial and error attempt at finding the correct verbs to run.