In part 2 of my prepping for #MSIgnite series (see also part 1 for Session plans) I thought I would document my thoughts for extending the battery life for my laptop(s). I’m still not sure whether to take my personal Surface Pro3 or the company laptop – a Lenovo P50S. The former is lighter, smaller and much easier to lug around the conference all day and with the touch screen and Onenote I will finally be able to use the full onenote experience of recording a talk whilst making notes in Onenote with the automatic audio bookmarking enabling me to go back in time for the audio at the point that I made the notes. The latter has the bigger screen but that is basically it. Most of the work apps are browser based apart from outlook but I can use OWA for that too so really either machine can be used.
The downside is that neither of the machines have a great battery life. In recent usage at work, the Lenovo didn’t even make it through half a day before needing power and I know the Surface isn’t that great either. Note that neither of the computers currently use the battery saver as the screen brightness and performance normally needs to be at their brightness for day to day usage.
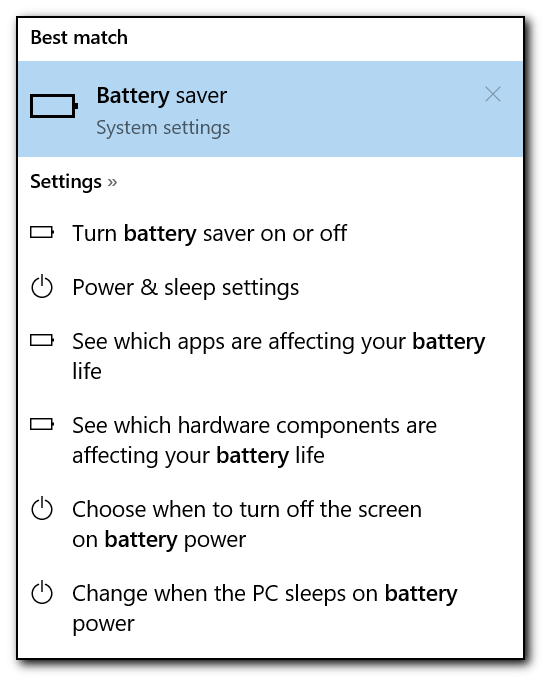
For the conference I will probably be using battery saver mode to eek out as much battery life as possible. I didn’t realise there were so many options for the battery when you hit start/battery in Windows 10

As I didn’t want to run out of battery and I don’t think I will take both laptops with me each day on the conference I decided to get an external battery pack that will allow me to charge either of the laptops and also my phone (which seems to have a 6 hour lifespan too).
The FAA has rules that determine the size of the battery that can be taken on a plane and as I’m not driving down to Florida, this was one of the biggest factors in selecting a device (plus price of course) . The FAA regulations basically state that you can’t have anything that has a capacity of over 100wH in either carry on or checked luggage. Unfortunately a lot of the power pack ratings on Amazon focus on the total capacity as the bigger the number the more impressive it sounds and they often do not state the wH which is what the FAA require. The FAA does provide some calculations to obtain wH (divide the mA by 1000 and multiply by the volts, but this ends up with widely different numbers if you have different voltages for the battery pack. However searching the questions or reviews for the word fly or plane will often show someone else asking if the device can be carried on the plane.
My initial battery choice was 50,000mAh as this would apparently charge the surface about 2-3 times based on one comment but this was way over the FAA allowance – however, batteries in the 25,000mAh seemed to be compliant so in the end I decided to get the Poweradd Pilot Pro2 23000mAh Power Bank for $89 from Amazon as this is 85wH and therefore under the limit. The rating is stamped on the back of the device to easily show security at the airport if needed. This device comes with tons of different tips for the various laptop inputs including the weird Lenovo tip that I would need. Unfortunately it did not come with the Surface adapter so that was an extra $9 to get the Threeeggs DC Plug Charging Cord Power Supply for Microsoft Surface Pro 4 (which is also compatible with the Surface Pro 3). This adapter has a nice generous 5′ cord to go between the laptop and the battery bank which makes it a lot easier to use on the go. Combine that with the 7′ long power supply (if you wanted to keep the battery charging) and you have the nice ability to keep connected and trip up lots of people – so be careful where you put those cords!
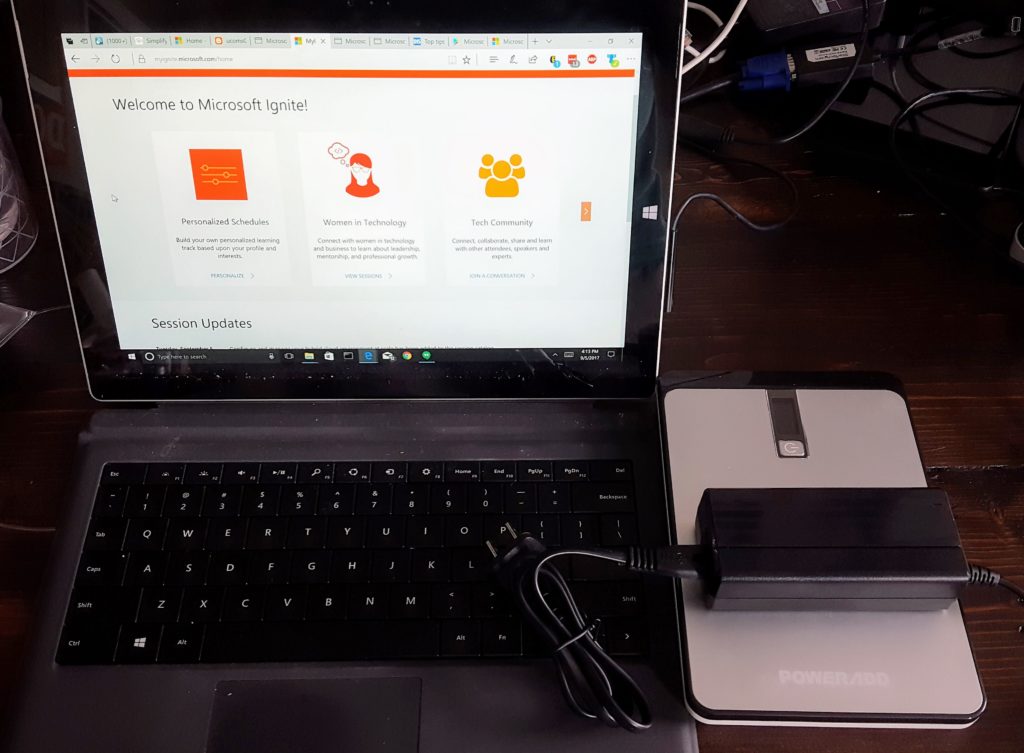
Size wise, the battery pack is just under half the size of a surface pro 3 at 4.75 by 7.25 (the surface is 11.5 by 8in) and 0.75 vs 05 in thick so should easily fit in your laptop carry case – see photo below for comparison.
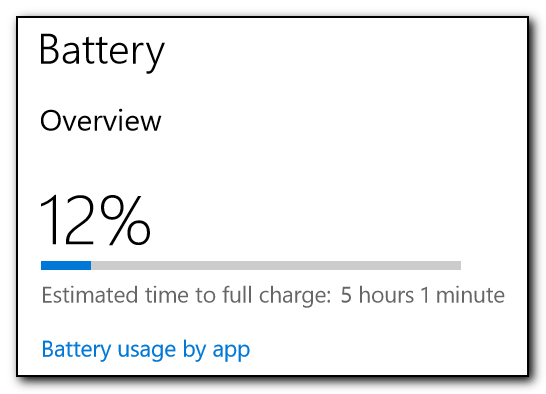
As far as the power is concerned, after about 15 minutes on charge with the battery, the power pack had depleted 8% and the laptop was up to 12% full from the 4% that was left on the laptop after I received the low battery warning. At this point in time, the time to charge to full capacity on the laptop was 5 hours and 1 minute. In comparison the time to charge using a mains charger was 2 hours and 2 minutes. Note that you have to wait a few seconds for the estimated full charge indicator to popup after entering the battery settings on the pc. The charge time seems to be pretty excessive but the good news is that you can still use the computer while the battery is being charged – there were a couple of reviews on other power packs that mentioned that the laptop would not actually charge whilst plugged in if the laptop was in use. One of the reviews stated you should switch the output of the power bank to 15v if you want to use the Surface and charging. This power bank also goes up to 19v which will be required to charge the Lenovo P50S.
After about 50 minutes I was up to 26% charged, with an estimated 2 hours left. I closed the laptop and left it complete the charge. When I came back 3 hours later, the Surface was fully charged and I had 18% left on the battery pack. This will definitely give me enough power to extend the usage of the laptop all day at Ignite and the power pack is quick enough to recharge overnight ready for the next day. Obviously a power strip is also in my packing list for #MSIgnite
I’ll be running some comparative tests on the Lenovo P50s later to see how the battery does for this device but thought I would get another post published before it’s too late.
So far it looks like this Power Bank will do a good job for me at MSIgnite2017 – at under $100 with all the tips I’d ever need (and many more besides), this won’t break the bank and should let me stay connected all day.
Let me know if you’ve tried any other battery packs and if you have other tips for keeping connected whilst at the conference.
